

I believe the idea of this had been planted in my head for a couple days. How? Well, I recently discovered the Knit Picks Podcast and have started listening to them from the beginning while on my walks/runs everyday. Granted, they're rather outdate since the first one was back in 2007 but they're still interesting and make my runs more entertaining and I always learn a little something.
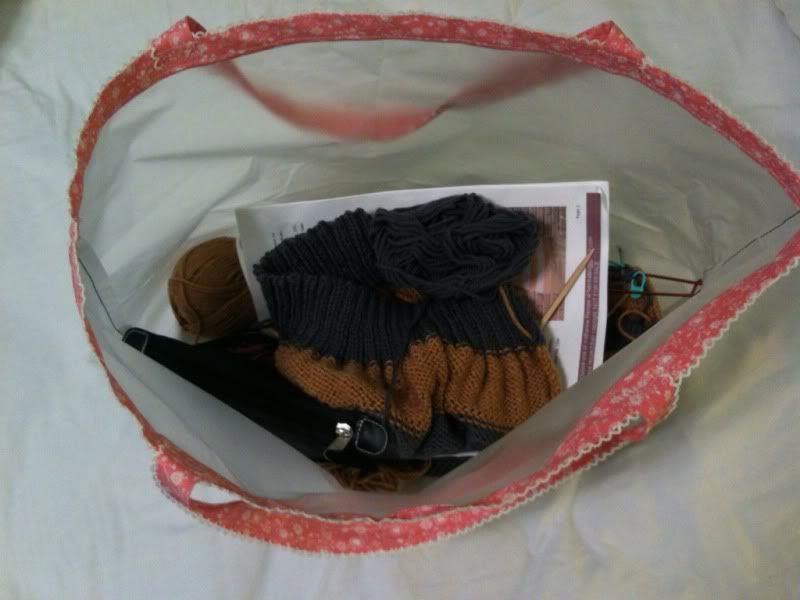
So, where does that come in? Well, one of the episodes talked about their clear plastic project bags. They said they found that when knitting in public places the clear bags allowed people to see what's going on and more people an usual could come up an ask either what they're doing or what they're working on.
I thought this was great and thought maybe instead of inspiring others to ask about what's going on with what I'm knitting that maybe the clear bag would inspire ME to work on my sweater project more. It's been stored in a box when I wasn't working on it and at school, but now that I'm home and have time I feel like it's time to finish. IT'S TIME!!!
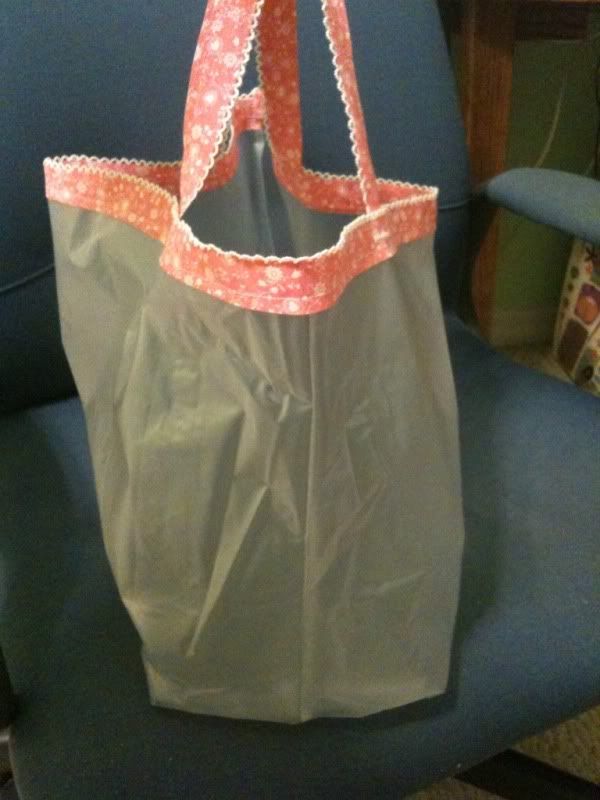
Thus this bag was born out of materials I already had. A last minute project before bed so I could use it the next day. I should have stored the plastic better...it was wrinkly from being mashed into my fabric bin. Oops! For future reference....store un-ironable fabric on rolls as not to wrinkle.
Want to make your own? You NEED...
- Clear or frosted (like mine) fabric
- 22" wide x 26" long
- 1/2"-1" wide bias tape (I had 1" on hand)
- 21" long for around the top
- 18" long (CUT 2) for handles
Here's HOW:
- Fold the long side (26") of the plastic in half. Sew up the sides leaving the top open. 1/2" seam allowance.
- To make the gusset, pinch the 2 bottom corners and sew a 6" long seam. Trim the corner to 1/2" within the seam.
- For more info and pictures for this step please refer to the purl bee's tutorial on an easy drawstring bag and go down to the "Make Gusset" section.
- Turn bag inside out.
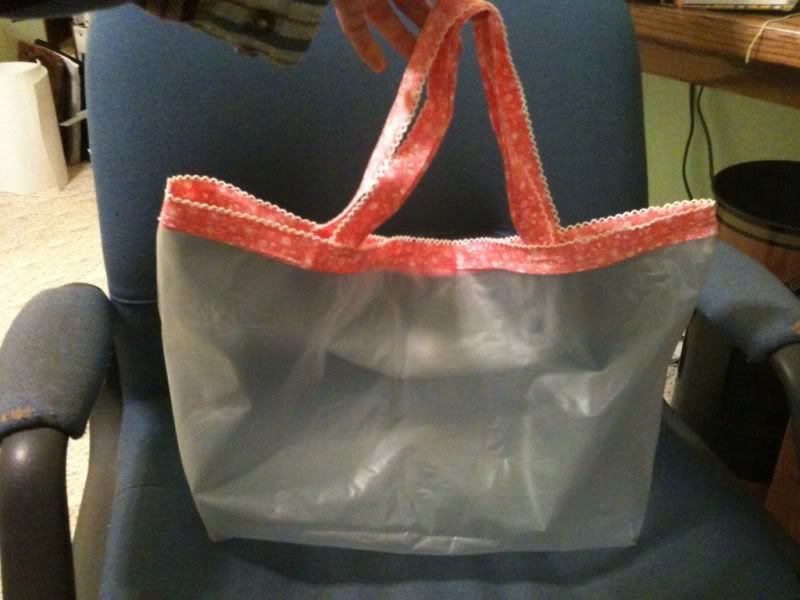
- Pin bias tape around the top of the bag. Sew in place.
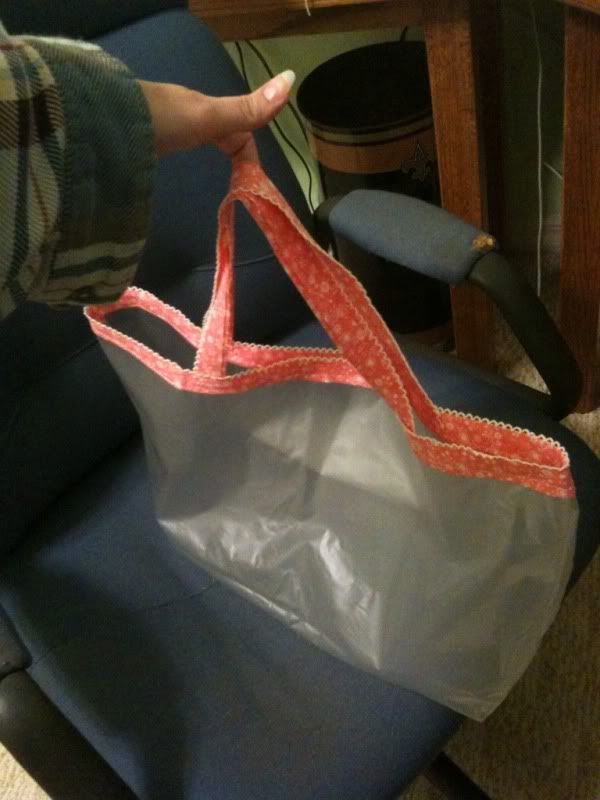
- Pin your handles on the inside of the bag. I measured one side of the bag and placed them 5 1/4" in on each side from the side seam. It was 1/4 of the total measurement of one side of the bag.
- Now I zig-zag stitched the handle's raw end to the bag. This will stop it from fraying. Then I went back and straight stitched the handle up closer to the top of the bag to stabilize.
DONE! It took me like 10 minutes total I think and only because I thought of using ribbon instead of bias tape at first lol. Much easier with the bias tape!
*One NOTE...I didn't line this bag because 1) it wouldn't be as see-through and 2) plastic doesn't fray! The thing about plastic is that it wont last forever. You could bind the edges in bias tape to make it look pretty but the more you stitch the plastic the more it will perforate and weaken the fabric. Plus I really don't think you'll even notice that it's 'raw edged'. If anything...if you really feel it needs 'finishing' I would heat set the seams. Turn your iron onto medium/medium-high and heat seal the seams together.
No comments:
Post a Comment