Saturday, December 17, 2011

Highland Fling Sample

  So, I've recently gotten a job at my local yarn store. Dangerous, I know! Everyone I work with is so wonderful and our customers are the best. Plus, along with working in the store I also make samples for our displays! Here is the first one: the Highland Fling using Classic Elite Yarns MountainTop Vista.

  The pattern is well written but a little jumbled order wise when you first look at it. Just take a minute, read through it, and you'll understand how it's set up. 

  With all the working I've been doing at the store this ended up taking me about 2 weeks to finish. It could have easily been done faster if I had more time because it's very easy but looks so impressive when it's done. 

  Here's how it turned out. I had a lot of fun styling it in lots of different ways on my dressform!


  It could also be worn as a hood but of course without a head on my dressform it was a hard look to obtain, lol. I love this shawl/wrap so much I didn't want to give it away! Luckily I can wear it all day at work to show everyone else how great it is.

Wednesday, November 16, 2011

Wooo Doggies!

Roscoe is a super model
  Doggie sweater to be exact. I wanted to thank a friend of mine for hosting me by making her new dog a sweater to protect him from the very mild cool winter of Florida and the harshness of real winter when they traveled up north. I used the smallest size on the pattern and it was a perfect fit!

  I got this pattern a while ago because it has a cute Yorkie on it. My roommate at the time had 3 of them and so every Yorkie thing I saw I got lol. The pattern is provided free by Caron and is called Rainbow Pooch Sweater. Overall it was an easy knit, but I wish it was done in the round...something to think about if I ever make another.

  The yarn I used is actually the FIRST project using the large amount of recycled yarn I harvested from my old Wet Seal Duster which I blogged about a while ago. I held two strands together and still didn't even make a dent in the stash, lol. 


Summerflies


  Well I worked on this, my first shawl, all summer and finished it just in time for fall. Don't get me wrong, it wasn't a hard pattern or anything, it just took longer and longer to do each row the further you went along. By the end there's almost 400 stitches! WHOA!

  Anyway, in general I'm not really a fan of shawls, but this one had a great pattern written row by row and that kept things interesting. Also, I used a worsted weight yarn so mine came out a little bigger and more substantial. Plus it works as a cowl too, which is more my style.

  Want to try this pattern for yourself? Great! It's FREE! You can get it at Holly and Ella Knits or on Ravelry of course. The yarn I used was Berroco Remix™in a sort of off white. 

Sunday, November 6, 2011

My First Socks - Peds!

  This project actually had a couple of firsts for me. First pair of socks AND first time using self striping yarn. Loooove the self striping yarn. Love.

  The pattern is called Pom Pom Peds by The Purl Bee and it's a great pattern. Lots of pictures and well written directions. I didn't have any problems with it and, again, these were my first pair of socks. They're worked from the top down.

  The yarn I used is from Knit Picks called Felici Fingering Self Striping Sock Yarn in the Afternoon colorway.


Here's a few things I learned in the process of making these...

  • When using self striping yarn DON’T use the first color, it probably isn’t the full length! DAMN!!

  • If you have a 10” foot you wont have enough of this yarn to do them both the same with one skein. If you don’t care about the order of the stripes then you’ll have enough of it and don’t worry! Have fun. I was seriously 1 and 1/2 stripes short. GAH! Luckily I saved the yarn I had to scrap because it wasn’t the correct color for the next sock and finished it with that.

  • I am not good at picking up stitches. Bleh, need to work on that, mine were a little holey and weird.

  • Lastly, I think I might try a size smaller needle for the next pair and add on an extra 4 stitches like Haramis did with hers.

Saturday, November 5, 2011

Clear Project Bag


  I believe the idea of this had been planted in my head for a couple days. How? Well, I recently discovered the Knit Picks Podcast and have started listening to them from the beginning while on my walks/runs everyday. Granted, they're rather outdate since the first one was back in 2007 but they're still interesting and make my runs more entertaining and I always learn a little something.


  So, where does that come in? Well, one of the episodes talked about their clear plastic project bags. They said they found that when knitting in public places the clear bags allowed people to see what's going on and more people an usual could come up an ask either what they're doing or what they're working on.


  I thought this was great and thought maybe instead of inspiring others to ask about what's going on with what I'm knitting that maybe the clear bag would inspire ME to work on my sweater project more. It's been stored in a box when I wasn't working on it and at school, but now that I'm home and have time I feel like it's time to finish. IT'S TIME!!!


  Thus this bag was born out of materials I already had. A last minute project before bed so I could use it the next day. I should have stored the plastic better...it was wrinkly from being mashed into my fabric bin. Oops! For future reference....store un-ironable fabric on rolls as not to wrinkle.


Want to make your own? You NEED...


- Clear or frosted (like mine) fabric 
   - 22" wide x 26" long


- 1/2"-1" wide bias tape (I had 1" on hand)
  - 21" long for around the top
  - 18" long (CUT 2) for handles


Here's HOW:


- Fold the long side (26") of the plastic in half. Sew up the sides leaving the top open. 1/2" seam allowance.


- To make the gusset, pinch the 2 bottom corners and sew a 6" long seam. Trim the corner to 1/2" within the seam.
  - For more info and pictures for this step please refer to the purl bee's tutorial on an easy drawstring bag and go down to the "Make Gusset" section.


- Turn bag inside out.


- Pin bias tape around the top of the bag. Sew in place.


- Pin your handles on the inside of the bag. I measured one side of the bag and placed them 5 1/4" in on each side from the side seam. It was 1/4 of the total measurement of one side of the bag.


- Now I zig-zag stitched the handle's raw end to the bag. This will stop it from fraying. Then I went back and straight stitched the handle up closer to the top of the bag to stabilize.


DONE! It took me like 10 minutes total I think and only because I thought of using ribbon instead of bias tape at first lol. Much easier with the bias tape!


*One NOTE...I didn't line this bag because 1) it wouldn't be as see-through and 2) plastic doesn't fray! The thing about plastic is that it wont last forever. You could bind the edges in bias tape to make it look pretty but the more you stitch the plastic the more it will perforate and weaken the fabric. Plus I really don't think you'll even notice that it's 'raw edged'. If anything...if you really feel it needs 'finishing' I would heat set the seams. Turn your iron onto medium/medium-high and heat seal the seams together.


Monday, October 24, 2011

Knitting Swap Spoils

  So I was in a vampire themed Halloween knitting swap. Well you need to give a handmade item (didn't have to be knit) and a skein of yarn. The rest of the goodies were up to me!

  So...I am not a quick knitter. So I decided to make use of my sewing skills to make her a project bag, keychain wristlet, and a mini wristlet to hold the stitch markers I sent too! I managed to find a fabric she liked through her Etsy favorites and used that for all the goodies. Check it out!


  This is the same person I sent the homemade marshmallows to as well! So along with the project bag (with hand painted accent glitter I might add) the wristlet, mini wristlet and marshmallows I also found a great copy of Dracula with Bela Lugosi on the cover, a great modern vampire novel, a BEAUTIFUL skein of red silk/merino yarn, a shawl pattern from her wishlist called Anonymous Vampire and stitch holders!

  Oh, and did I mention the totally cute folder I made to put the shawl pattern in? BAM!

  
  I just cut out the shape of the mouth and teeth I drew with an X-Acto knife and taped some red paper in the inside of the folder flap. Fun!

  Anyway, it was a fun swap and I hope she enjoys all the time I put into the many handmade items!  


  Once my swap spoilee got her package she shared this very nice picture! Yay!


Tuesday, October 18, 2011

Gourmet Marshmallows Oo-la-la!


  After finding this recipe and instructions on Clock Work Lemon for making your own Marshmallows from scratch I was itching for a reason to make them! They just looked to lovely and puffy! One note about the instructions that I would suggest is using a pizza cutter to chop up the 'mallow loaf into the squares. It was so fast!!! Much better than using a knife.

Anyway, so I finally got a reason when the person I was doing a knitting swap with commented on how much she likes marshmallows of the chocolate variety. Soooo I made them and went to town on the melted chocolate! 

Here's the results!


Then I thought....let's kick it up a notch! Why not add some peanut butter chips?! Try melting them too?? YES!


But it made SO many....and I can only eat so many crazy sweet marshmallows. So, I kept a small sampling for myself and my Dad, but then I sent all the chocolate ones to my swap partner...then I sent another care package of them to my buddy Lindsay for a congrats on her new job!


ADORABLE RIGHT? LOVE!!
PS, I'm not really a hot chocolate drinker but guess what? They work just as nice in your morning coffee. Mmmm!
<3

Tuesday, September 27, 2011

Alteration Inspiration

  After doing a bit of altering to a pageant dress tonight I got inspired to give designing some a shot. Let me just disclaimer how I am NOT a evening wear designer. So this was my best shot at 3AM. Oh hey, kind of a decently lit phone picture! All right!


  Marker flesh experiments. Need to remember how I did the one of the left! I think it was one dying marker + lighter marker = oh hey nice!

Sunday, September 25, 2011

Armor Inspired Designs

  In order to beef up my portfolio I'm doing mini-design projects in a sketchbook. I think this is my favorite page of 'armor' designs for a Fall collection. 


I always put an art filter over these digitally before posting since I don't scan them. Yet. It shows up better.

    Next I'm going to do some younger girl designs.


Fabric Book Cover

  To organize my thoughts I bought a little journal to keep track of myself. But I hated the outside. There was a cute blue one at the store but it was damaged. Lame. So I bought this pink one and directly looked up a tutorial on making a fabric cover. I found this excellent video tutorial on About.com that explained it quickly and to the point. It shows you how to take measurements so you can customize a cover for any book!


  Funny how I got this Michael Miller fabric to make gifts for my roommate and have been able to make more stuff with the remnants. Good buy! And so cute!

Saturday, September 24, 2011

Knit Coffee Cuff

  This is the knit item that I use more than any other. WAY more! It lives in my purse and gets used for both hot AND cold drinks to soak up the sweat. Using the pattern Quick & Basic Coffee Cozy from Social Knitworking I created my own version with a little stripe in the middle. I used leftover cotton yarn, worsted weight, but I don't remember what the brand was. It doesn't even matter as long as you used worsted weight yarn. Great patter and a great item.

<3

Repurposing A Reusable Bag


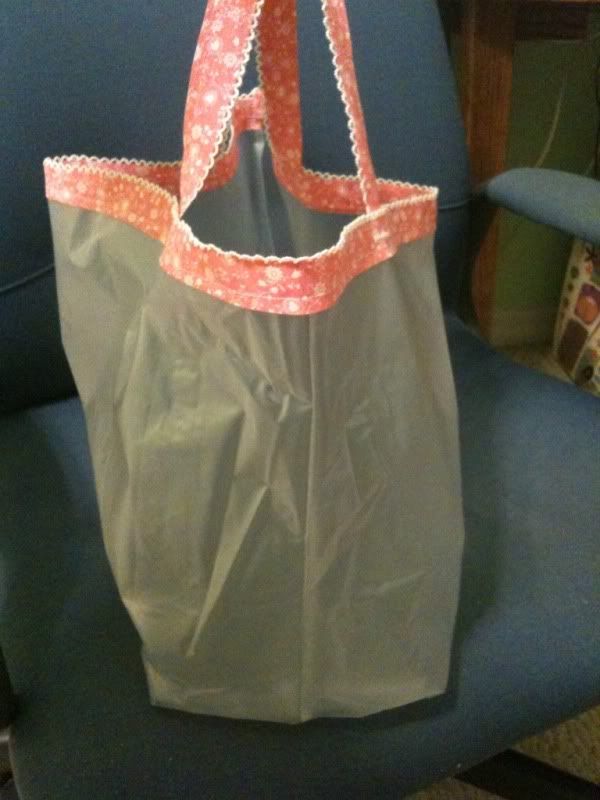
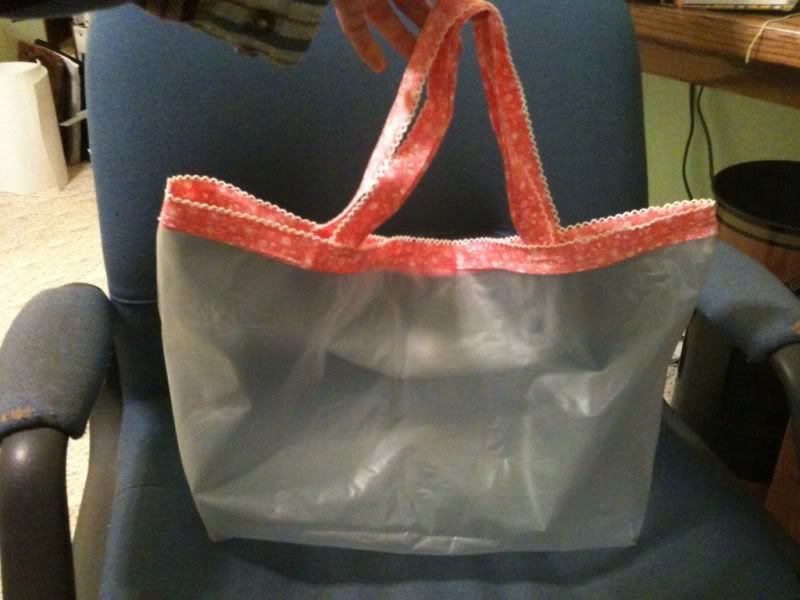
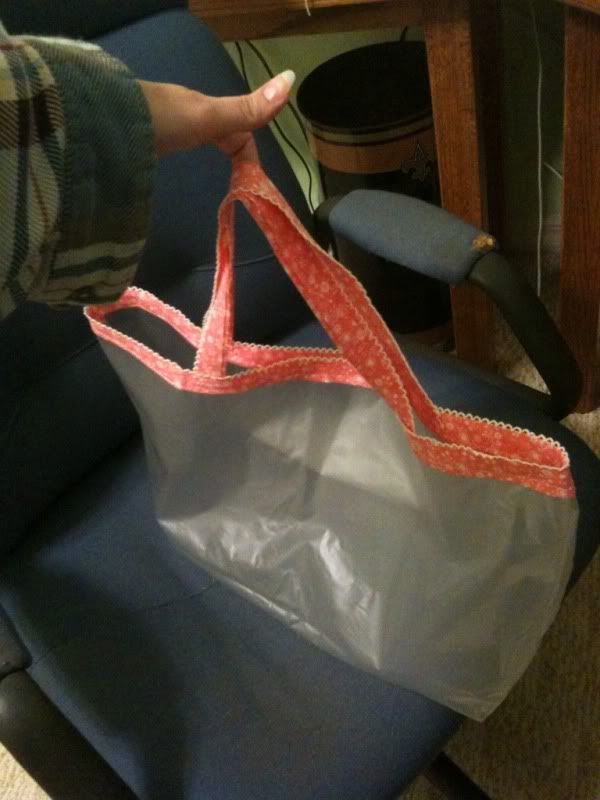
Here's the deal. Sometimes you buy those reusable bags because you need .99 cents more to your total in order to use a coupon. That's what happened here. I started out with a bag like this from Joann Fabrics:


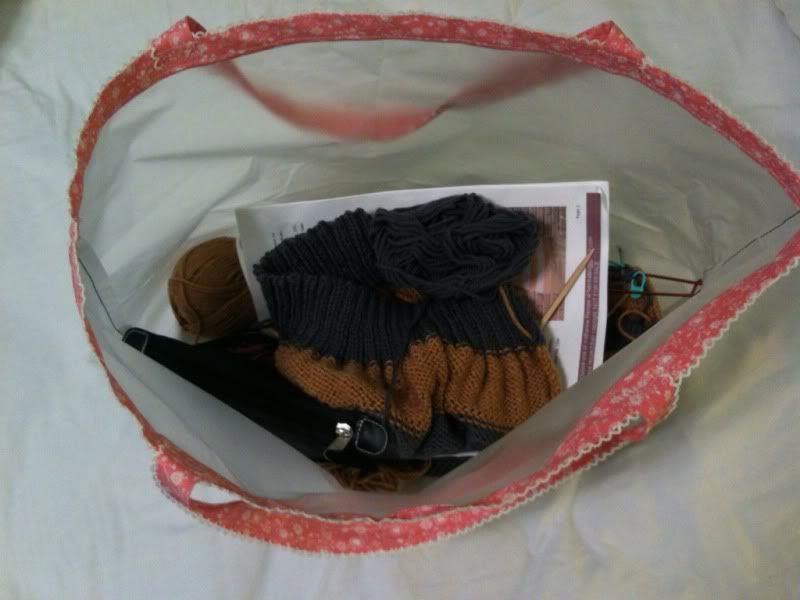
  Made of sort of a cheap oilcloth type fabric. Well, I thought maybe I'd put it to good use and try to make a couple waterproof bags. I gave a little test to the fabric and it's at least 'water resistant' if nothing else. So I decided on making up a boxy makeup bag and a smaller bag for what was going to be my Kindle and ended up as housing my hard drive and it's cord. 

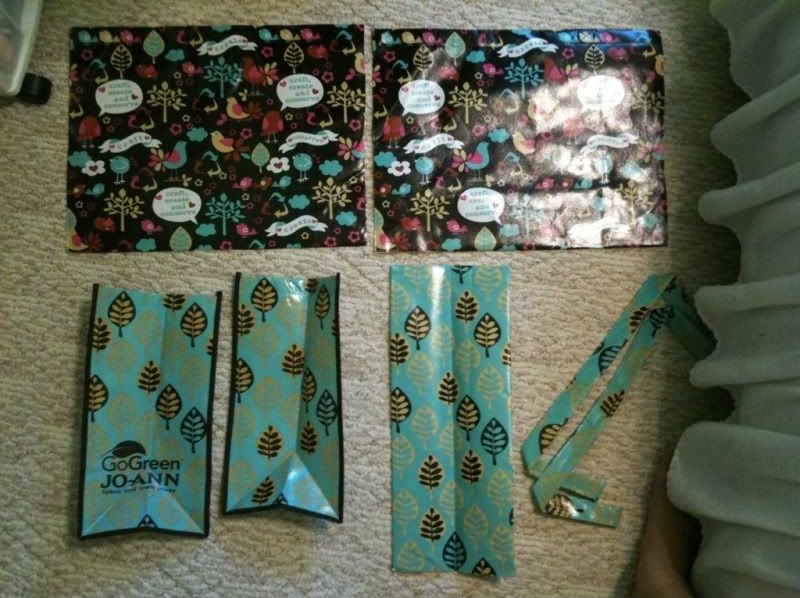
  First I cut up the bag into all it's pieces and cut off the binding. Keep the handles!
  The big brown pieces were the front/back and the green pieces are the sides, bottom and handles.

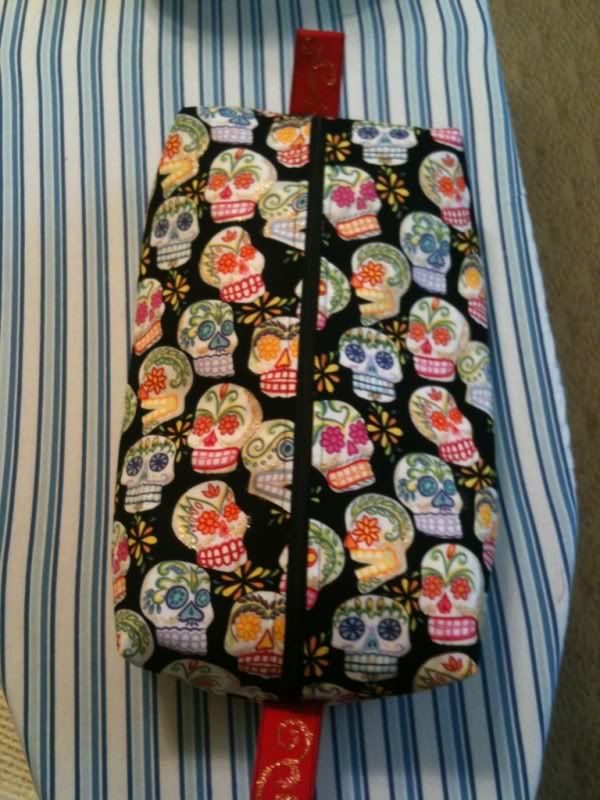
  First, the makeup bag. I was in need of a new, bigger one and the thought of having one that was somewhat waterproof was great in case something exploded in there, especially while traveling. 
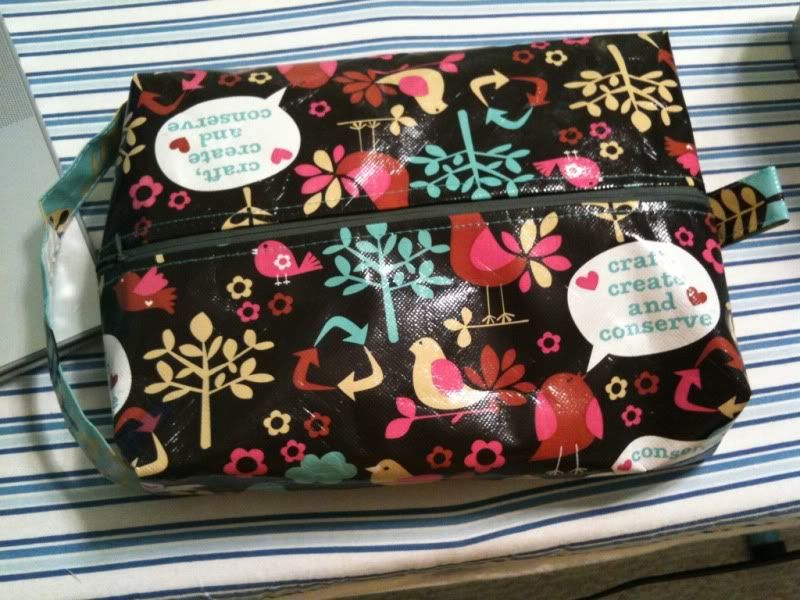
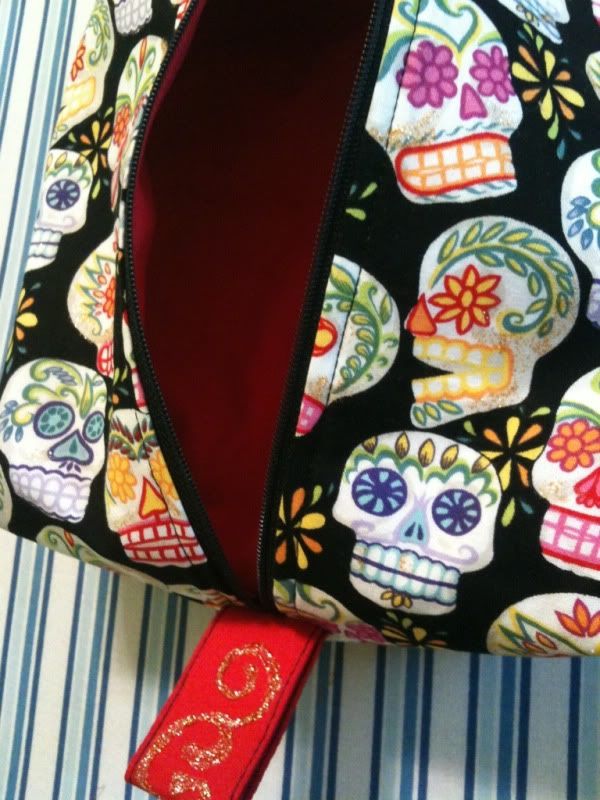
Finished product
Peek at the clear plastic lining inside
  For this I used the big brown pieces and the green handles. Then, using the very excellent directions from It's A Pretty Modern Life I sewed it up. For the lining I used this clear plastic I had leftover from my Reusable Storage Bags to make it even more waterproof. The green handles became the zipper pull tabs and the strap on the side. The strap isn't part of the Pretty Modern tutorial but can be seen through the Drago[knit]fly tutorial. They look similar but the Pretty Modern tutorial shows how to make the bags fully-lined, which is easy and looks so much nicer, plus it will increase the life of the bag since the seams aren't exposed to fraying.  
 
  Next I did a smaller bag out of one side and the bottom piece of the bag pieces. I would have used the other side instead but that stupid logo was in the way and I was not interested in advertising for Joann Fabrics. Sorry!
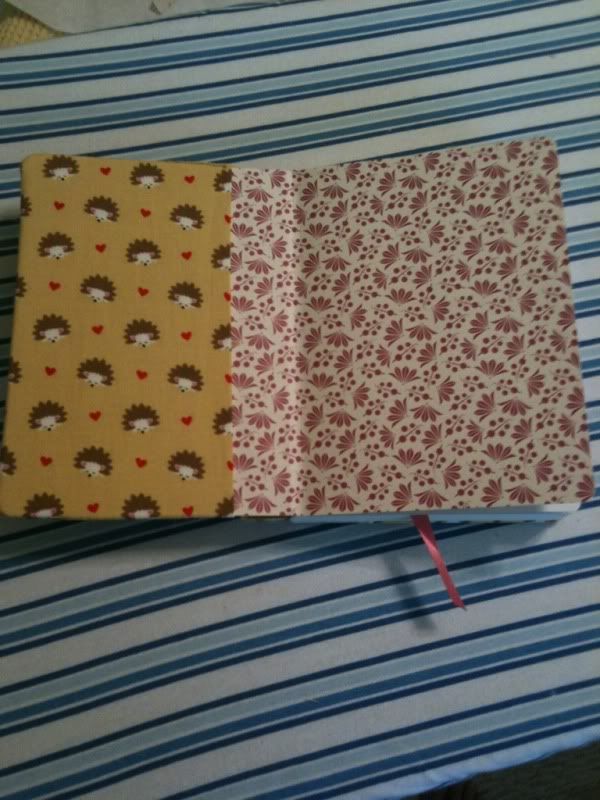
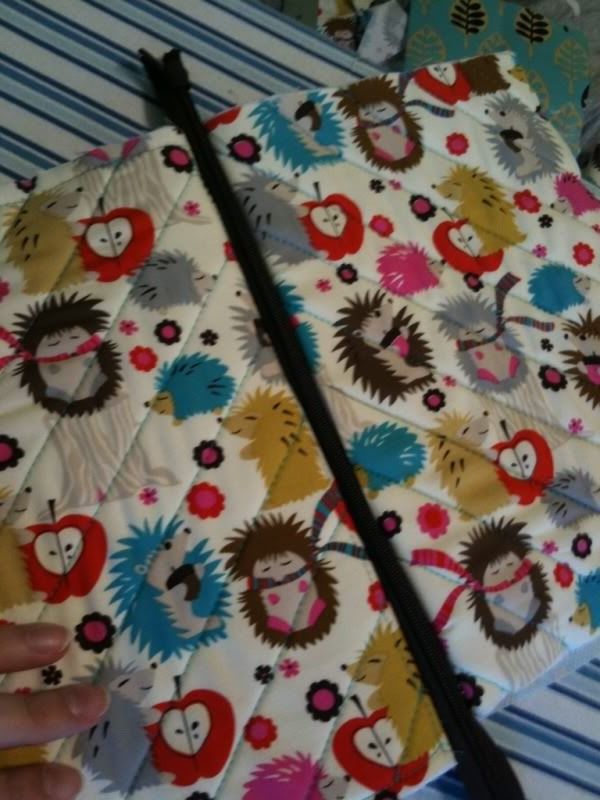
Quilted lining.
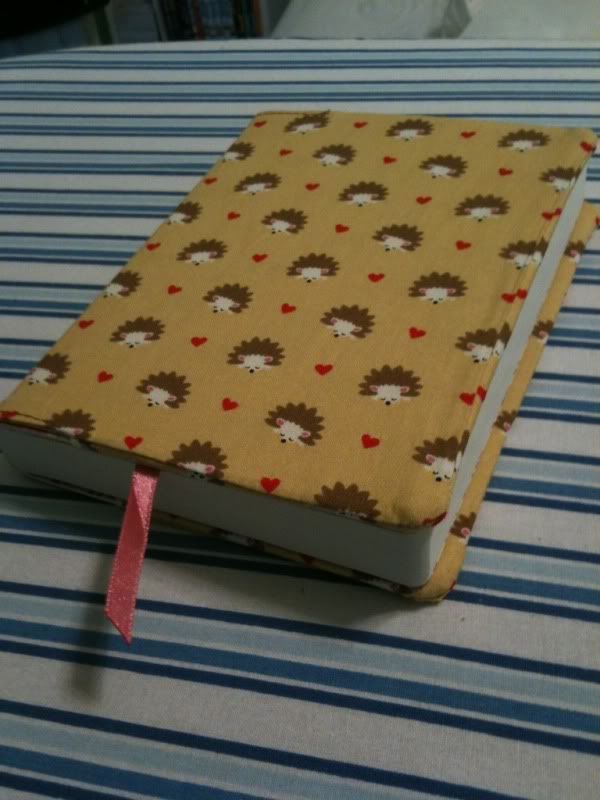
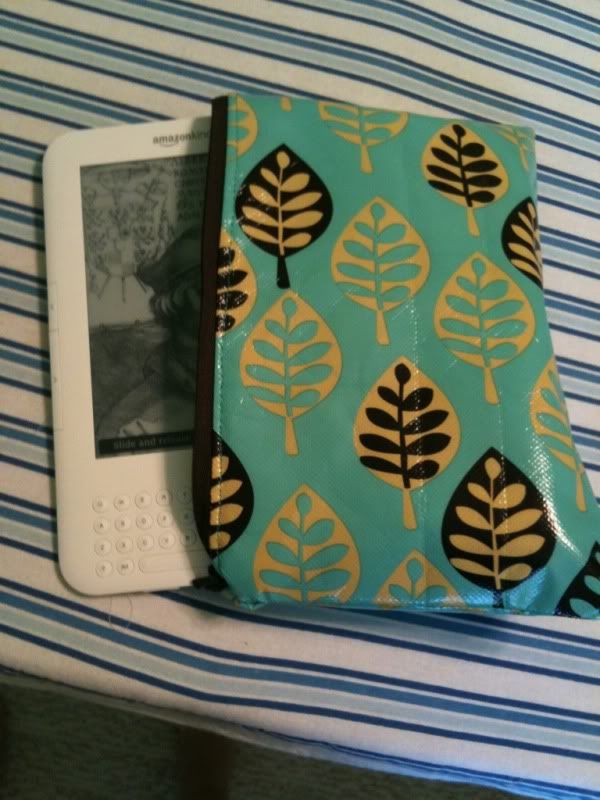
  So this pouch, more than a bag, started as a Kindle case so I could put it in my purse with a bottle of water and not worry about it sweating and killing my electronic book. I used the sewing tutorial for a 
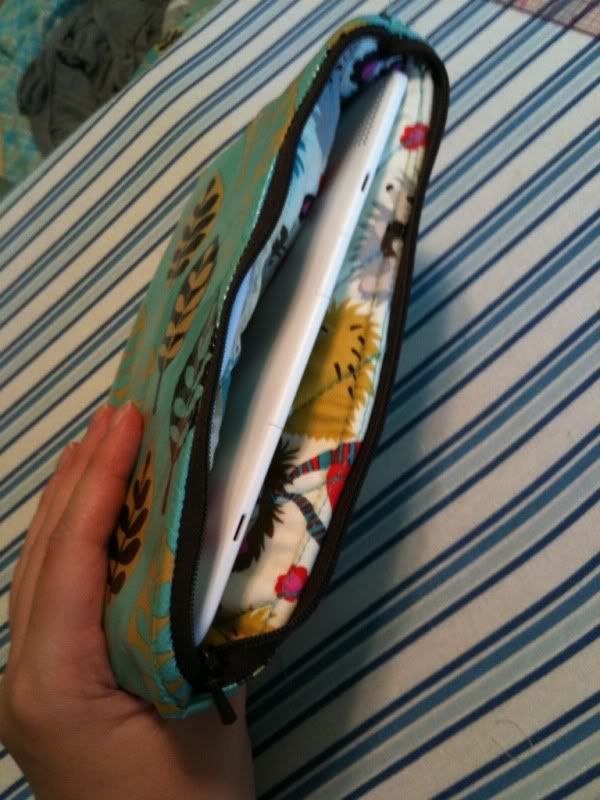
fully lined zipper pouch from Skip To My Lou. I tweaked it a little by cutting 4 pieces of neoprene so I could pad each side of the lining (hedgehog fabric) and quilted it into place. 

Initial measurments. Oops.
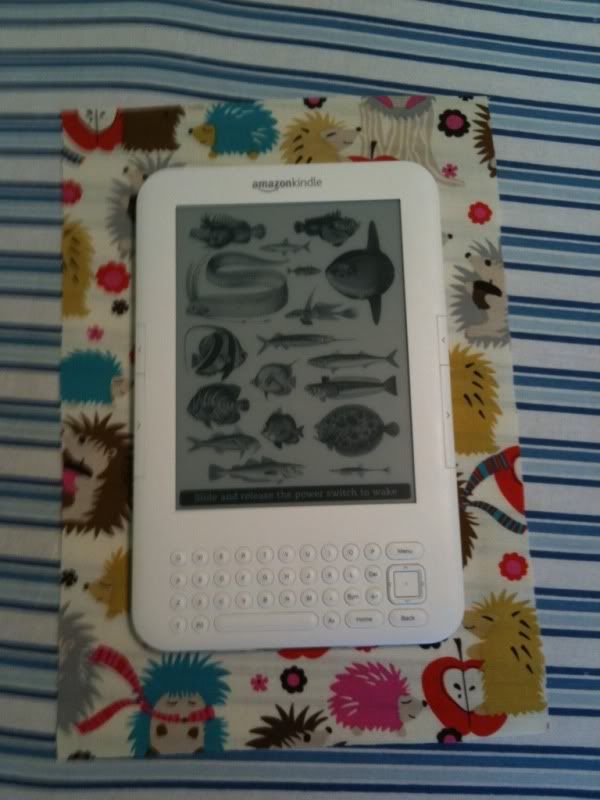
   Well, what I SHOULD have done was cut the outer fabric about 3/4" bigger than the lining since I bulked it up so much with the extra padding. Mine didn't lay flat and was too tight for my kindle to fit into it with ease. Hence why it is now housing my much smaller hard drive and cord. 

  I had notes on what my measurments were but since it didn't turn out as well as planned I didn't keep them. Basically I cut the fabric to be about 1" bigger than the kindle but should have made it 2-3" bigger. Again, the bulk of the quilted lining made it much smaller on the inside. 

  Anyway, here's the finished product. Tight squeeze! Sorry, Bingley! (That's my Kindle's name.)


  All and all, for a bag that cost about a buck. I think it was worth it!

Cowardly Lion

Roar!
  What do you do when an adult male needs a Cowardly Lion costume for a work event? You get sent a hoodie and told to get to it!

  "With pleasure!" I replied. 

  So I ordered up 3 skeins of 100% polyester yarn from Dick Blick for it's sticky quality, making the lion mane more of a single entity instead of individual strands. 

  Want to make your own? Easy! 

  Cut a million pieces of yarn 12" long and sew them in half along the edge of the hood of a hoodie. Then, cut a million more pieces of yarn 10" long and do 2 more rows behind the original row about 3/4" away. I then did 2 more short rows down the crown, between the seams if you your hoodie has them like mine (see image 1). I also did a row of 10" long pieces around the arm cuffs.

  Next you need some ears. I got a fluffy, almost felted, fabric that was a near exact match to the hoodie color. For the ears I drew out a rough ear shape and cut 4 (see image 2). Sew two together on the curve but not the flat bottom, then turn them right sides out. I also opted to fold the ear in half and sew a small (about 1/2") dart in the fold so that it would curl like a real ear (see image 3). Then hand sew the ear onto the hood! I placed mine at an angle going from the longer middle mane rows to the side (see image 4 & picture 4, which is the hoodie front).

  Next is the tail. Using the same fabric as the ears, cut a 5" wide by however long (mine was 42") and sew it with right sides together, leaving one small end open to turn the tail right-side out. Use Fiberfill to stuff the tail. I also inserted wire from Home Depot that came from the electric section that was sold by the foot. It was about .40 cents/foot and I got 4 feet so I could bend it in half to have a double sturdiness once inserted into the tail. Now you can curve it and it will stay! I don't remember what the name of the wire was, only that the guy said it had the most resistance and it was dark gray/blackish in color. 

  I was also in charge of making a way to attach the tail to a belt or belt loops. So, before I sewed the top of the tail closed I also put in a length of bias tape I had on hand so he could tie it to the back belt loop. (see picture5)


4 5


Tada! Finished and so cute. They also bought the Cowardly Lion Pendant which he gets from the Wizard to add to it once it gets sent back.
 
UPDATE
Pictures from Fred, my commissioner of this costume. He looks GRRRREAT!