Here's the deal. Sometimes you buy those reusable bags because you need .99 cents more to your total in order to use a coupon. That's what happened here. I started out with a bag like this from Joann Fabrics:
Made of sort of a cheap oilcloth type fabric. Well, I thought maybe I'd put it to good use and try to make a couple waterproof bags. I gave a little test to the fabric and it's at least 'water resistant' if nothing else. So I decided on making up a boxy makeup bag and a smaller bag for what was going to be my Kindle and ended up as housing my hard drive and it's cord.
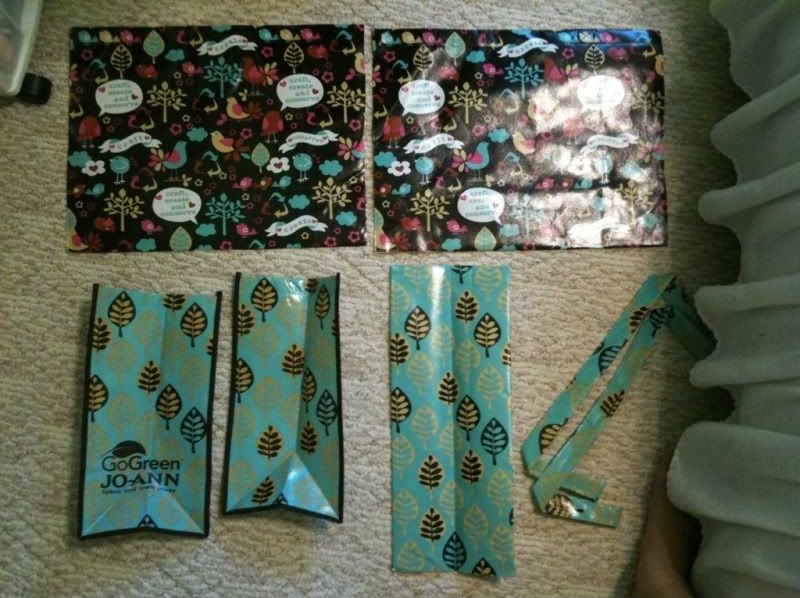
First I cut up the bag into all it's pieces and cut off the binding. Keep the handles!
The big brown pieces were the front/back and the green pieces are the sides, bottom and handles.
First, the makeup bag. I was in need of a new, bigger one and the thought of having one that was somewhat waterproof was great in case something exploded in there, especially while traveling.
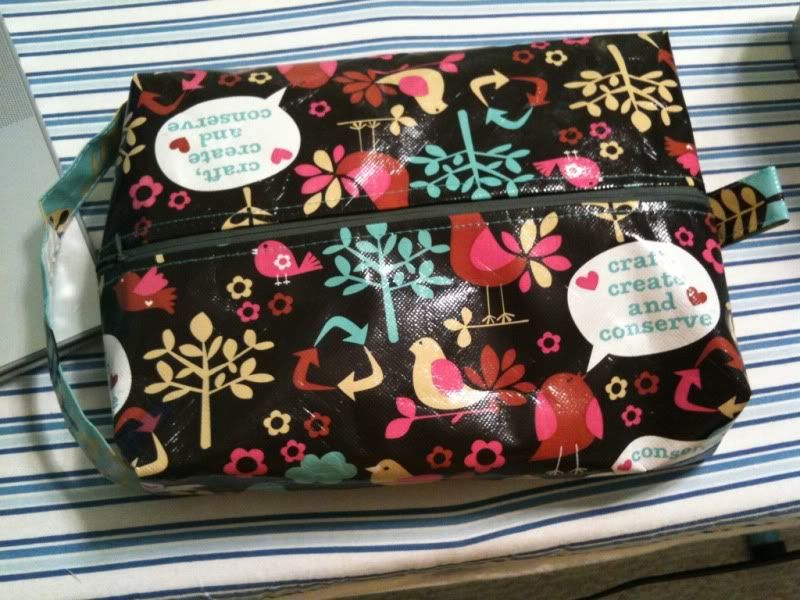 |
| Finished product |
 |
| Peek at the clear plastic lining inside |
For this I used the big brown pieces and the green handles. Then, using the very excellent directions from It's A Pretty Modern Life I sewed it up. For the lining I used this clear plastic I had leftover from my Reusable Storage Bags to make it even more waterproof. The green handles became the zipper pull tabs and the strap on the side. The strap isn't part of the Pretty Modern tutorial but can be seen through the Drago[knit]fly tutorial. They look similar but the Pretty Modern tutorial shows how to make the bags fully-lined, which is easy and looks so much nicer, plus it will increase the life of the bag since the seams aren't exposed to fraying.
Next I did a smaller bag out of one side and the bottom piece of the bag pieces. I would have used the other side instead but that stupid logo was in the way and I was not interested in advertising for Joann Fabrics. Sorry!
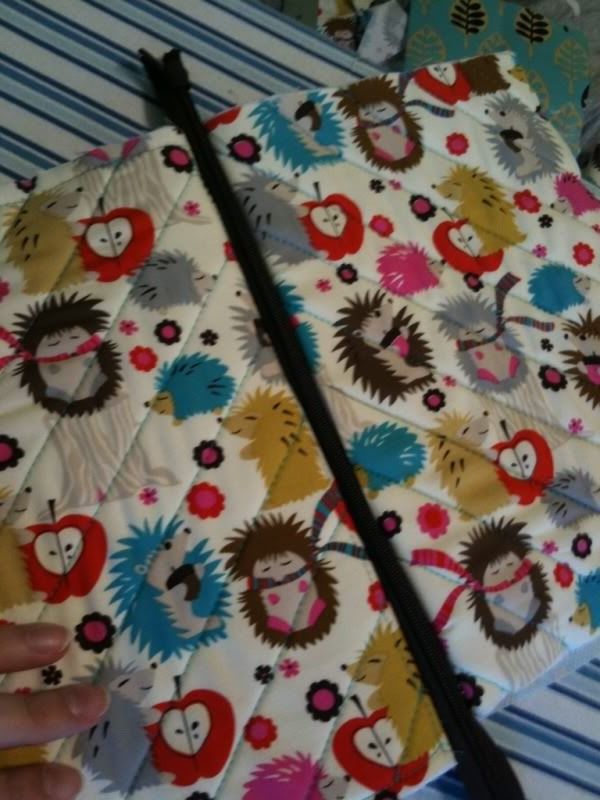 |
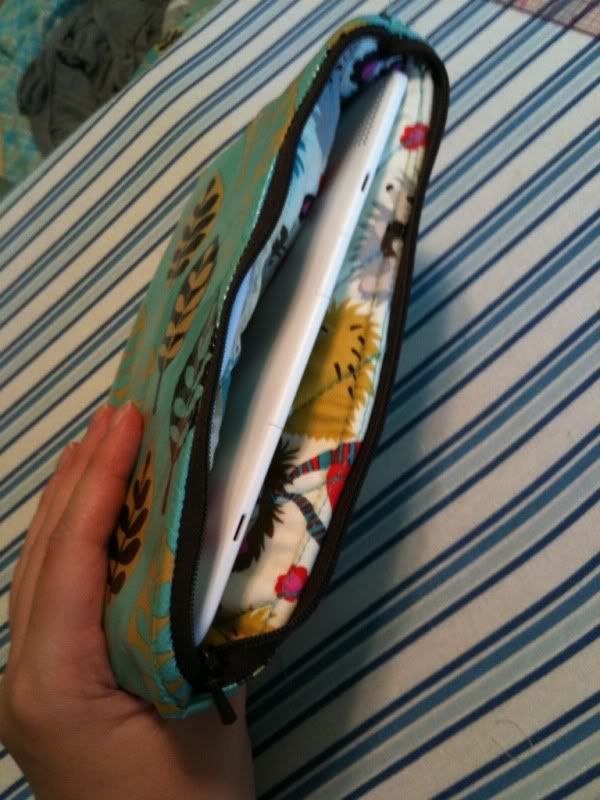
| Quilted lining. |
So this pouch, more than a bag, started as a Kindle case so I could put it in my purse with a bottle of water and not worry about it sweating and killing my electronic book. I used the sewing tutorial for a fully lined zipper pouch from Skip To My Lou. I tweaked it a little by cutting 4 pieces of neoprene so I could pad each side of the lining (hedgehog fabric) and quilted it into place.
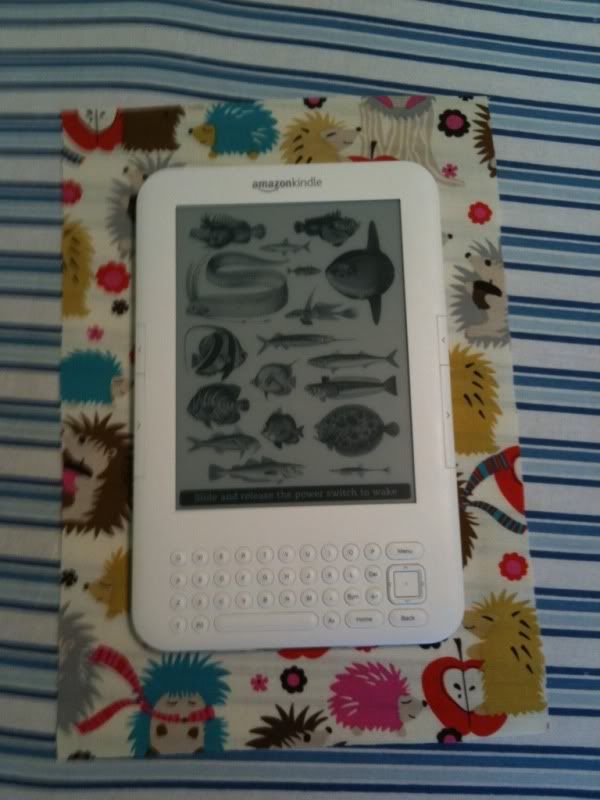 |
| Initial measurments. Oops. |
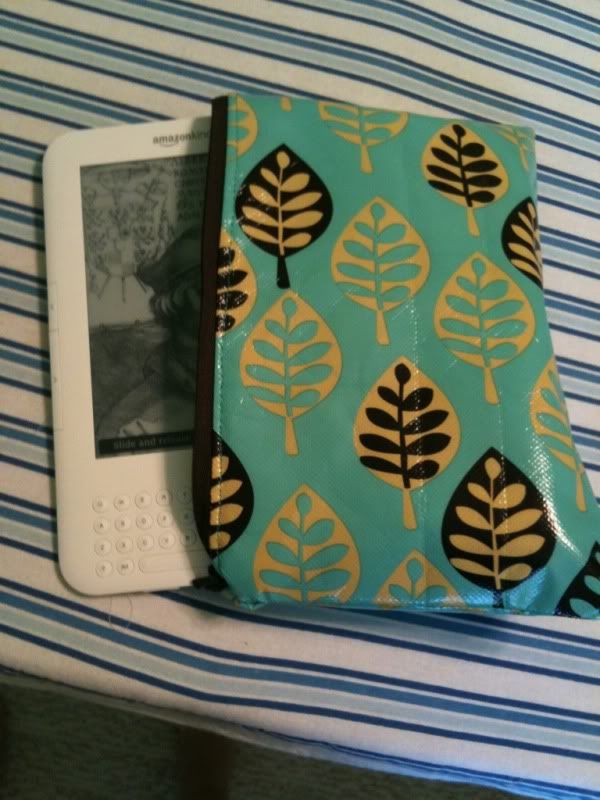
Well, what I SHOULD have done was cut the outer fabric about 3/4" bigger than the lining since I bulked it up so much with the extra padding. Mine didn't lay flat and was too tight for my kindle to fit into it with ease. Hence why it is now housing my much smaller hard drive and cord.
I had notes on what my measurments were but since it didn't turn out as well as planned I didn't keep them. Basically I cut the fabric to be about 1" bigger than the kindle but should have made it 2-3" bigger. Again, the bulk of the quilted lining made it much smaller on the inside.
Anyway, here's the finished product. Tight squeeze! Sorry, Bingley! (That's my Kindle's name.)
All and all, for a bag that cost about a buck. I think it was worth it!


No comments:
Post a Comment