Tuesday, September 27, 2011

Alteration Inspiration

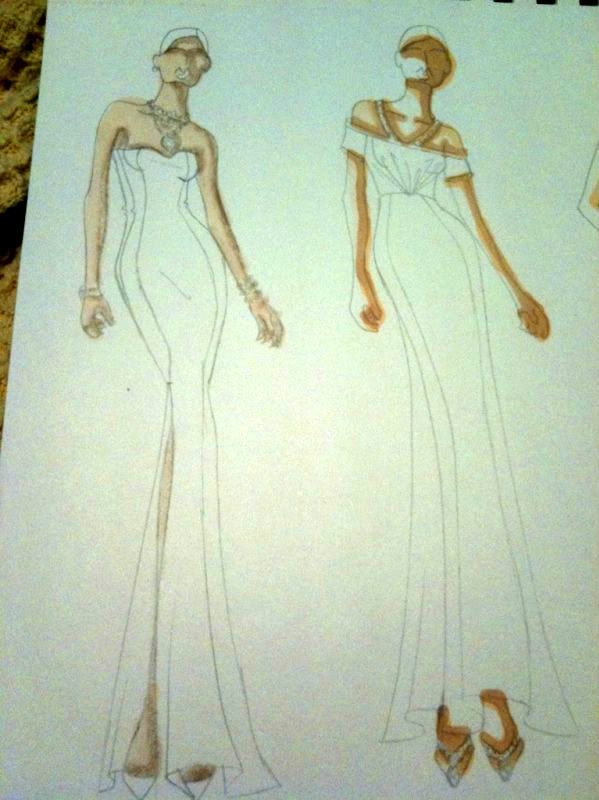
  After doing a bit of altering to a pageant dress tonight I got inspired to give designing some a shot. Let me just disclaimer how I am NOT a evening wear designer. So this was my best shot at 3AM. Oh hey, kind of a decently lit phone picture! All right!


  Marker flesh experiments. Need to remember how I did the one of the left! I think it was one dying marker + lighter marker = oh hey nice!

Sunday, September 25, 2011

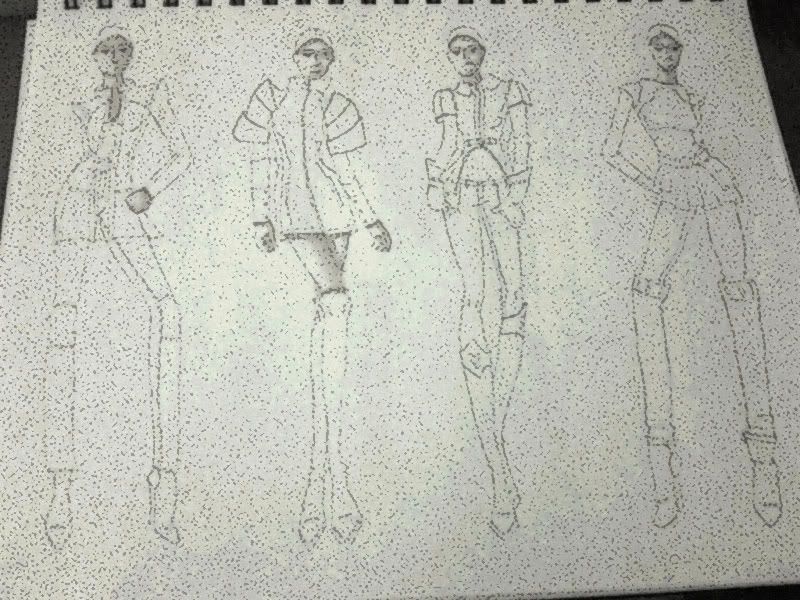
Armor Inspired Designs

  In order to beef up my portfolio I'm doing mini-design projects in a sketchbook. I think this is my favorite page of 'armor' designs for a Fall collection. 


I always put an art filter over these digitally before posting since I don't scan them. Yet. It shows up better.

    Next I'm going to do some younger girl designs.


Fabric Book Cover

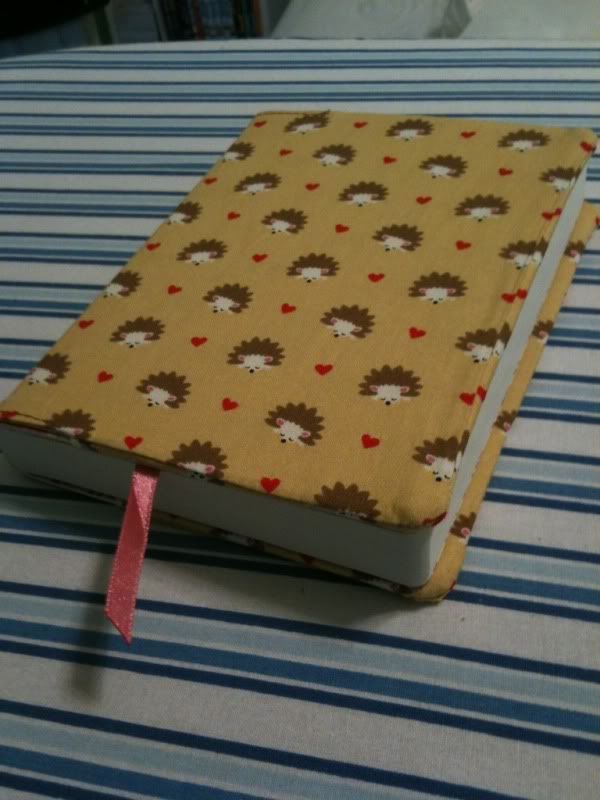
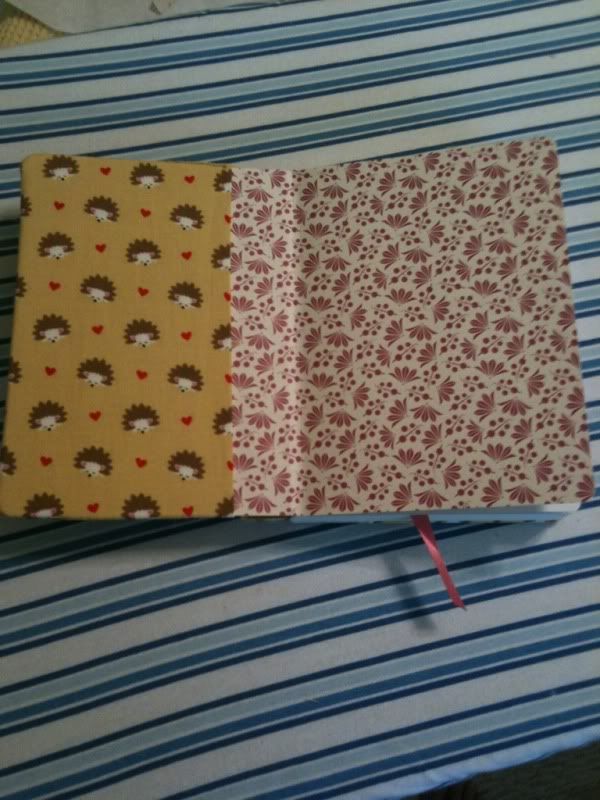
  To organize my thoughts I bought a little journal to keep track of myself. But I hated the outside. There was a cute blue one at the store but it was damaged. Lame. So I bought this pink one and directly looked up a tutorial on making a fabric cover. I found this excellent video tutorial on About.com that explained it quickly and to the point. It shows you how to take measurements so you can customize a cover for any book!


  Funny how I got this Michael Miller fabric to make gifts for my roommate and have been able to make more stuff with the remnants. Good buy! And so cute!

Saturday, September 24, 2011

Knit Coffee Cuff

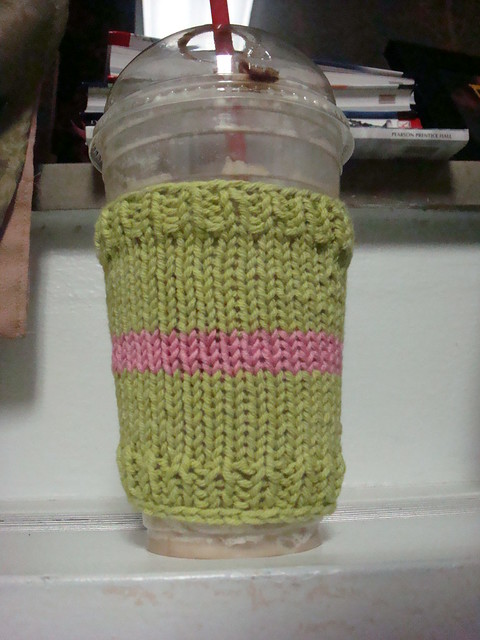
  This is the knit item that I use more than any other. WAY more! It lives in my purse and gets used for both hot AND cold drinks to soak up the sweat. Using the pattern Quick & Basic Coffee Cozy from Social Knitworking I created my own version with a little stripe in the middle. I used leftover cotton yarn, worsted weight, but I don't remember what the brand was. It doesn't even matter as long as you used worsted weight yarn. Great patter and a great item.

<3

Repurposing A Reusable Bag


Here's the deal. Sometimes you buy those reusable bags because you need .99 cents more to your total in order to use a coupon. That's what happened here. I started out with a bag like this from Joann Fabrics:


  Made of sort of a cheap oilcloth type fabric. Well, I thought maybe I'd put it to good use and try to make a couple waterproof bags. I gave a little test to the fabric and it's at least 'water resistant' if nothing else. So I decided on making up a boxy makeup bag and a smaller bag for what was going to be my Kindle and ended up as housing my hard drive and it's cord. 

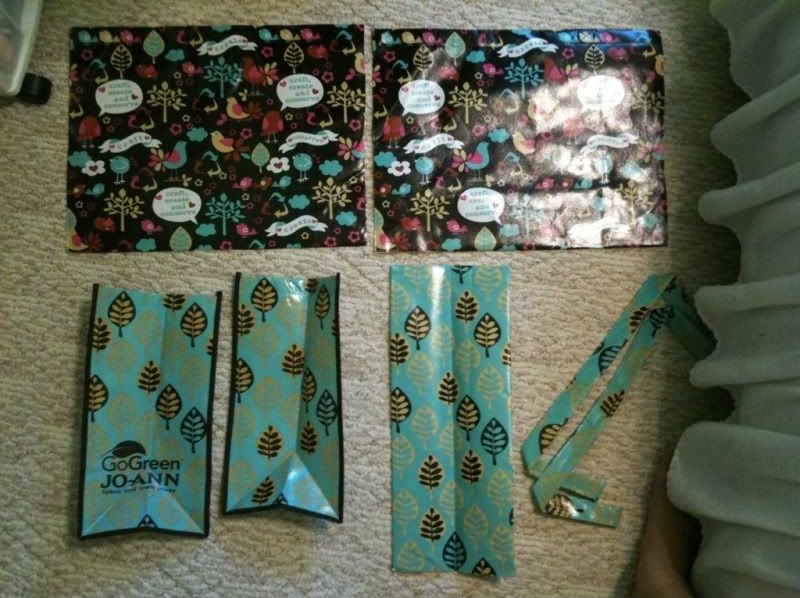
  First I cut up the bag into all it's pieces and cut off the binding. Keep the handles!
  The big brown pieces were the front/back and the green pieces are the sides, bottom and handles.

  First, the makeup bag. I was in need of a new, bigger one and the thought of having one that was somewhat waterproof was great in case something exploded in there, especially while traveling. 
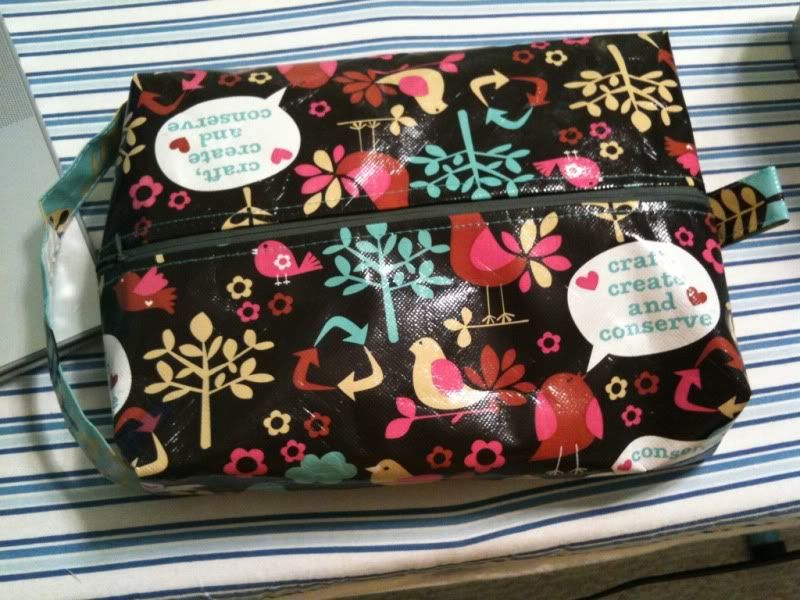
Finished product
Peek at the clear plastic lining inside
  For this I used the big brown pieces and the green handles. Then, using the very excellent directions from It's A Pretty Modern Life I sewed it up. For the lining I used this clear plastic I had leftover from my Reusable Storage Bags to make it even more waterproof. The green handles became the zipper pull tabs and the strap on the side. The strap isn't part of the Pretty Modern tutorial but can be seen through the Drago[knit]fly tutorial. They look similar but the Pretty Modern tutorial shows how to make the bags fully-lined, which is easy and looks so much nicer, plus it will increase the life of the bag since the seams aren't exposed to fraying.  
 
  Next I did a smaller bag out of one side and the bottom piece of the bag pieces. I would have used the other side instead but that stupid logo was in the way and I was not interested in advertising for Joann Fabrics. Sorry!
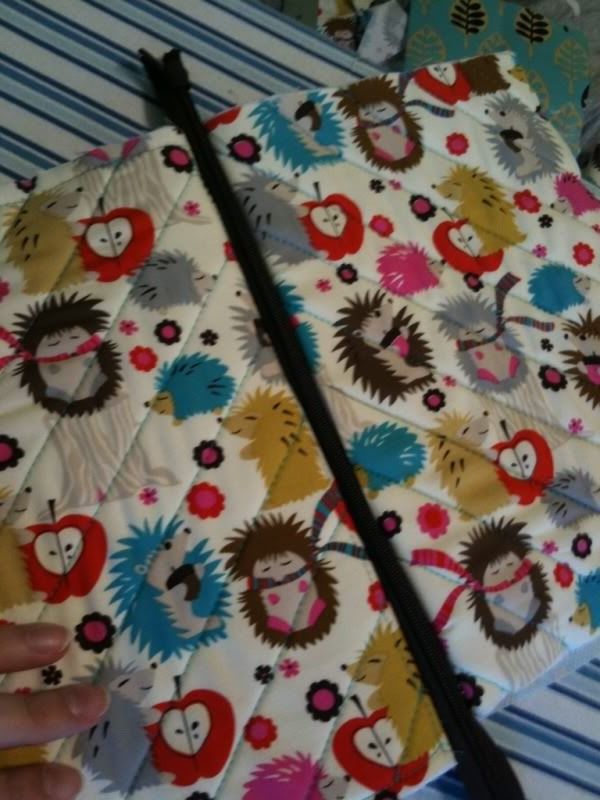
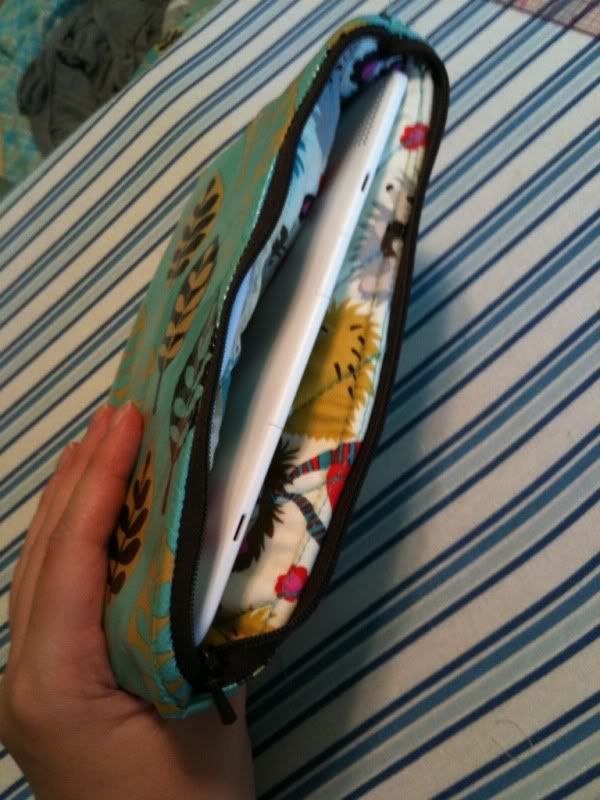
Quilted lining.
  So this pouch, more than a bag, started as a Kindle case so I could put it in my purse with a bottle of water and not worry about it sweating and killing my electronic book. I used the sewing tutorial for a fully lined zipper pouch from Skip To My Lou. I tweaked it a little by cutting 4 pieces of neoprene so I could pad each side of the lining (hedgehog fabric) and quilted it into place. 
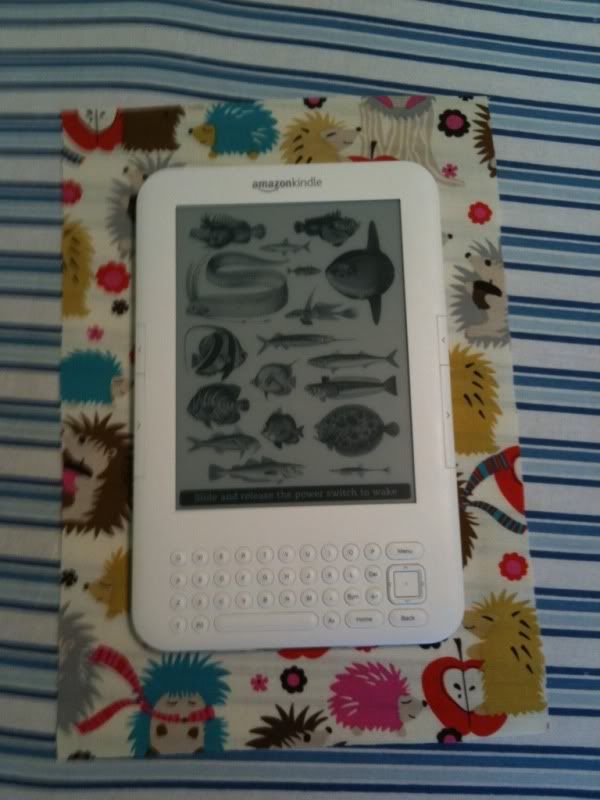
Initial measurments. Oops.
   Well, what I SHOULD have done was cut the outer fabric about 3/4" bigger than the lining since I bulked it up so much with the extra padding. Mine didn't lay flat and was too tight for my kindle to fit into it with ease. Hence why it is now housing my much smaller hard drive and cord. 

  I had notes on what my measurments were but since it didn't turn out as well as planned I didn't keep them. Basically I cut the fabric to be about 1" bigger than the kindle but should have made it 2-3" bigger. Again, the bulk of the quilted lining made it much smaller on the inside. 

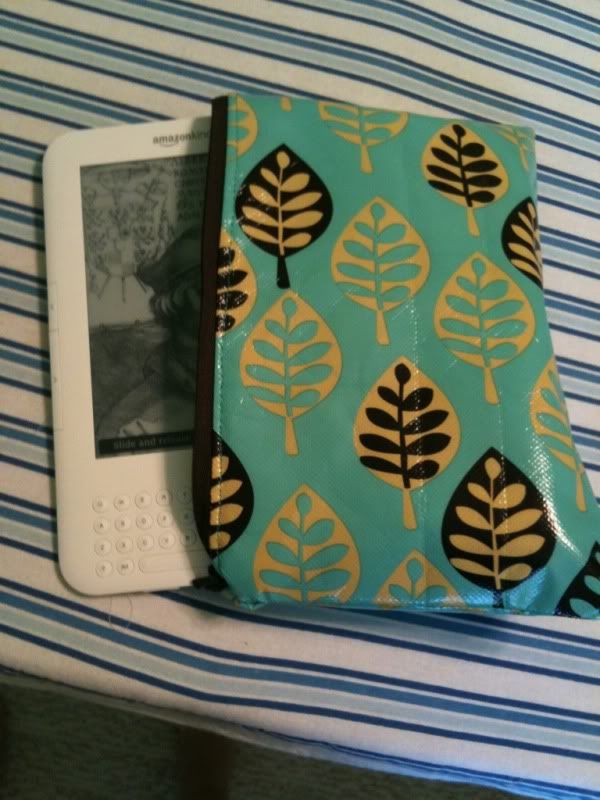
  Anyway, here's the finished product. Tight squeeze! Sorry, Bingley! (That's my Kindle's name.)


  All and all, for a bag that cost about a buck. I think it was worth it!
Cowardly Lion

Roar!
  What do you do when an adult male needs a Cowardly Lion costume for a work event? You get sent a hoodie and told to get to it!

  "With pleasure!" I replied. 

  So I ordered up 3 skeins of 100% polyester yarn from Dick Blick for it's sticky quality, making the lion mane more of a single entity instead of individual strands. 

  Want to make your own? Easy! 

  Cut a million pieces of yarn 12" long and sew them in half along the edge of the hood of a hoodie. Then, cut a million more pieces of yarn 10" long and do 2 more rows behind the original row about 3/4" away. I then did 2 more short rows down the crown, between the seams if you your hoodie has them like mine (see image 1). I also did a row of 10" long pieces around the arm cuffs.

  Next you need some ears. I got a fluffy, almost felted, fabric that was a near exact match to the hoodie color. For the ears I drew out a rough ear shape and cut 4 (see image 2). Sew two together on the curve but not the flat bottom, then turn them right sides out. I also opted to fold the ear in half and sew a small (about 1/2") dart in the fold so that it would curl like a real ear (see image 3). Then hand sew the ear onto the hood! I placed mine at an angle going from the longer middle mane rows to the side (see image 4 & picture 4, which is the hoodie front).

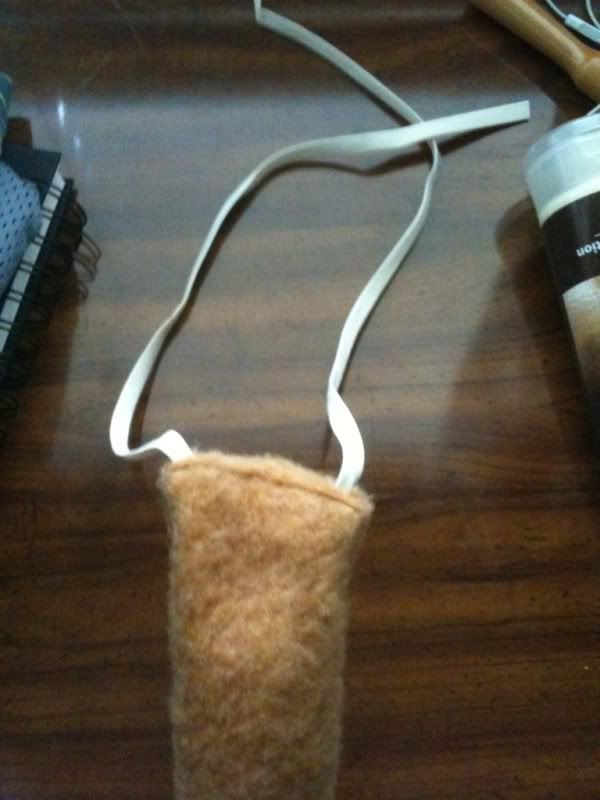
  Next is the tail. Using the same fabric as the ears, cut a 5" wide by however long (mine was 42") and sew it with right sides together, leaving one small end open to turn the tail right-side out. Use Fiberfill to stuff the tail. I also inserted wire from Home Depot that came from the electric section that was sold by the foot. It was about .40 cents/foot and I got 4 feet so I could bend it in half to have a double sturdiness once inserted into the tail. Now you can curve it and it will stay! I don't remember what the name of the wire was, only that the guy said it had the most resistance and it was dark gray/blackish in color. 

  I was also in charge of making a way to attach the tail to a belt or belt loops. So, before I sewed the top of the tail closed I also put in a length of bias tape I had on hand so he could tie it to the back belt loop. (see picture5)


4 5


Tada! Finished and so cute. They also bought the Cowardly Lion Pendant which he gets from the Wizard to add to it once it gets sent back.
 
UPDATE
Pictures from Fred, my commissioner of this costume. He looks GRRRREAT!


Friday, September 23, 2011

Bar Towels

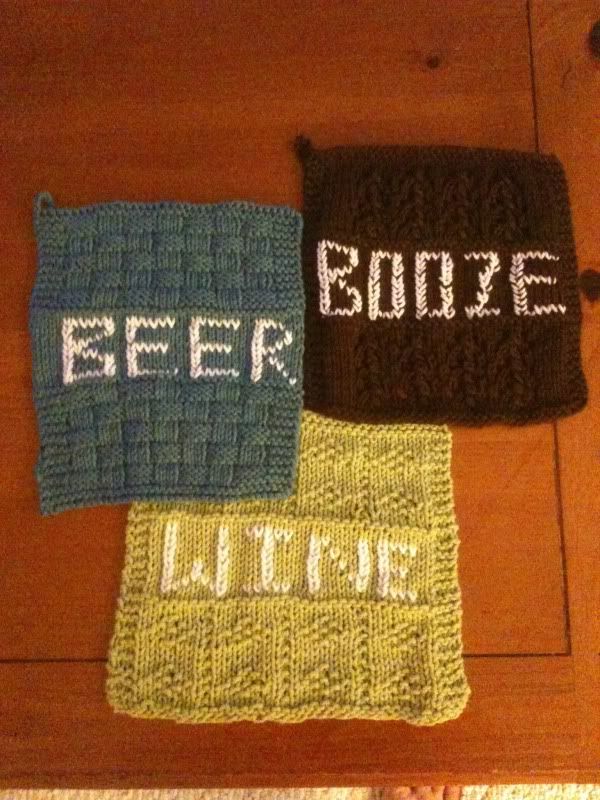
  I'm realizing just how many projects have slipped through the cracks here! Here is one I did about a year ago. They're bar towels based on the pattern Back to School by Star Athena. I just replaced the study related words to bar words. The yarn I used was Hobby Lobby I Love This Cotton! Solids.

   But why did I make these? I was going to my cousin's new house for the first time and wanted to make a house warming/bar warming gift. He's got a GREAT bar called Big Time Scott's in his basement. 

  Here's how they turned out!


Beer, wine & booze. All a bar needs.
Fits in nicely!

Thursday, September 22, 2011

Whew!

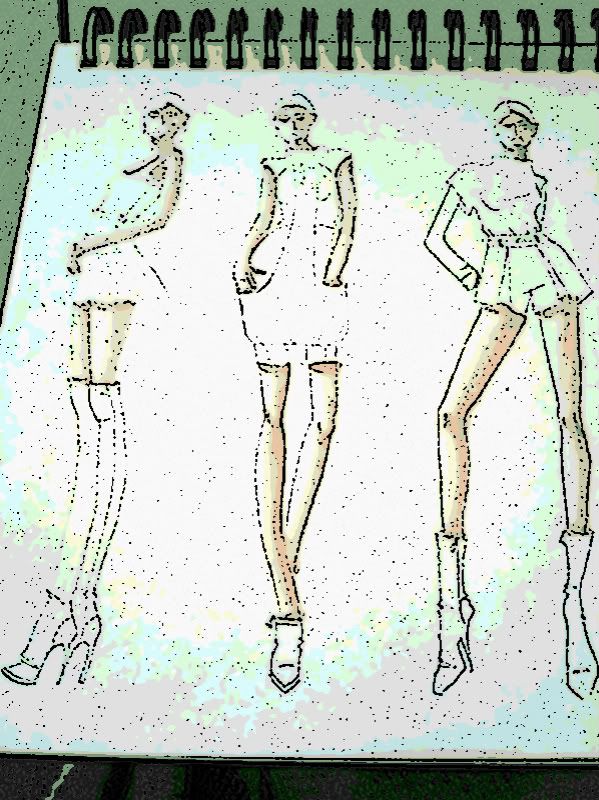
  WOW! I've done a lot of updating tonight. Now it's time to go to bed. I have a few more things coming up once they're finished so until then I'll leave you with this sketch of some designs I've done to keep myself fresh! I put a cartoon art filter on it so that the details could be seen a little better since it's mostly a light pencil drawing with some skin tone marker. I think I'll upload more of these eventually, Joie has really inspired  me with all of hers!

Senior Collection

Ah yes, the reason why it's been SO LONG since I've updated! The last year of my life was devoted to my senior year in fashion school's personal collection, like a senior thesis.

It all started with designing a 4 look collection:


After multiple muslins through the fall semester the final garments were then constructed and perfected the following spring semester. All the hard work was worth it for this final outcome:


To see more of my work and photos of my senior collection visit my website!

Recycled Yarn Experiment

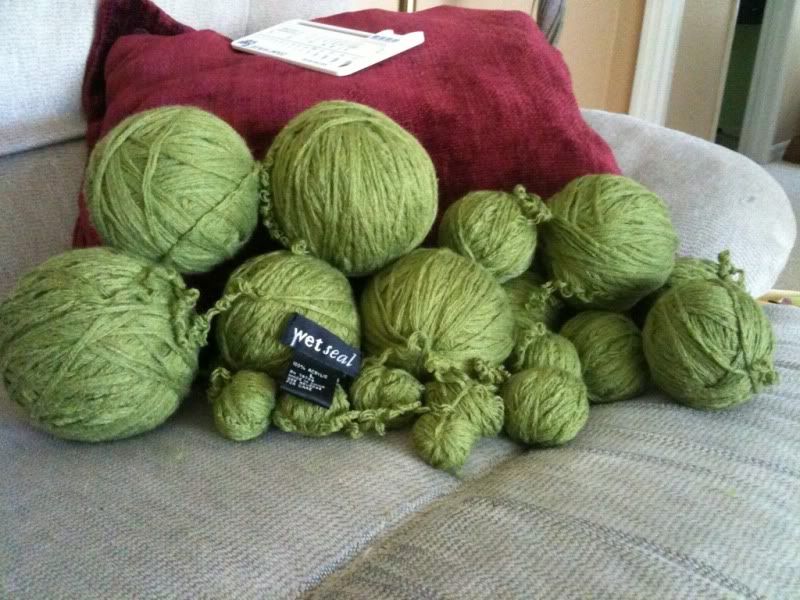
  Ok, so I came upon a group on Ravelry called UnRavelers that unravel old, ugly sweaters for the yarn then reuse it to make a cute modern garment or item. Oh yeah, I was intrigued. So I went right off to my local Goodwill thinking I would score an old ugly man sweater in some awesome fiber like cashmere for $5 and then dance all the way home. Well it turns out that Florida is NOT the place for that to happen. But I was still eager to try unraveling something! So I went back home, looked through all my old stuff, and found an old duster from Wet Seal! 

  Well, it wasn't exactly the dream garment, it was acrylic yarn, but at least it would have a lot of yardage and give me a chance to test the waters. Sooooo....the duster went from this...

To THESE!!


I'm not sure what I'll make from it...if anything...but it was a good experience if nothing else!

Smurf Hat

  Well it wasn't SUPPOSED to be a smurf hat, but after a comment my roommate made...well she was spot on. Just look at it! I had to make it in white lol.
  The REAL name of the project is The Slouch Hat by Diane Serviss and is $5 through Ravelry. It seems like an easy pattern because it's all just garter stitch, but when you review the pattern skills you see that it's really a great project to build your skills! For this hat you need to know how to do Provisional Cast On, Kitchener Stitch, and Short Rows! Don't worry! YouTube is full of videos showing you how to do all those things.

  The yarn I used was by Misti Alpaca called Chunky Solids. It is SO SOFT but sheds like crazy! My black coat is now kind of gray. But whatever because my head and ears are always 100% warm!

  I ended up making mine longer because I thought my first attempt with the recommended CO wasn't going to make it slouchy enough in the back. Thus I OVER compensated and had to brim the front quite a bit for the hat not to be hanging halfway down my back, lol. At least all my hair would fit into it if need be! Anyway, it's still cute and warm and soft so it just ended up being a 'design detail'.

Sassy Sam Cat

I can't believe I've gone all this time and never had one post about my cat, Sam!

AKA Samuel Catson, AKA Samwise, AKA Sammy, AKA Puppy, AKA Poopy, AKA Family Puppster, AKA Fuzz-Butt, AKA....

...ok yeah he just has a lot of nicknames. No wonder he doesn't know his name.

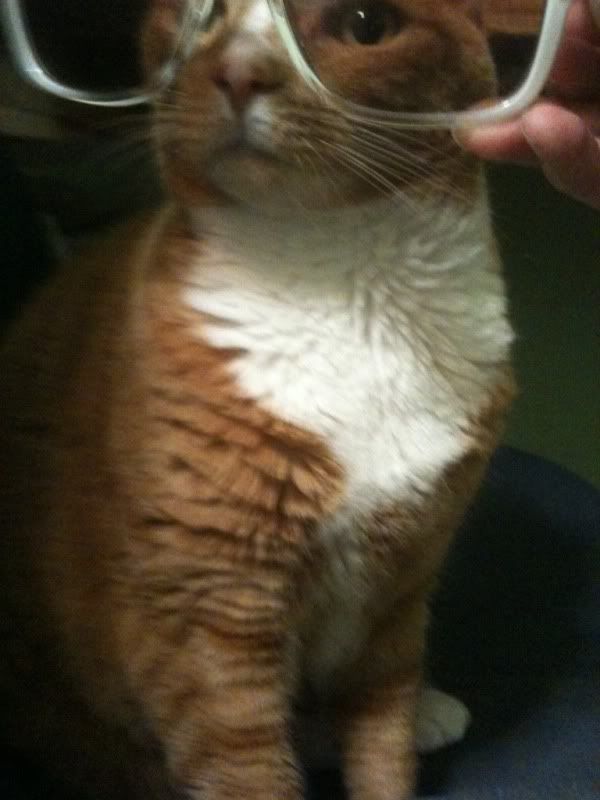
But ain't he so cute and STYLISH!?

Oh BABY!

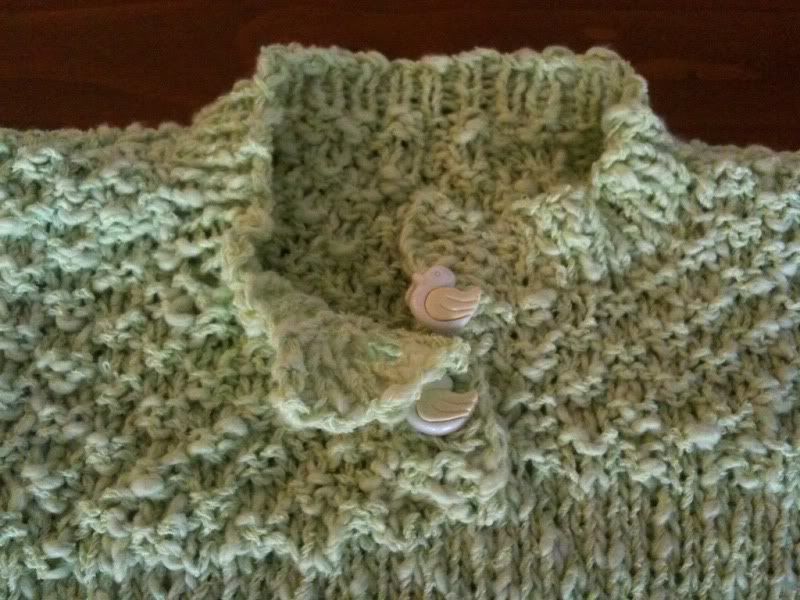
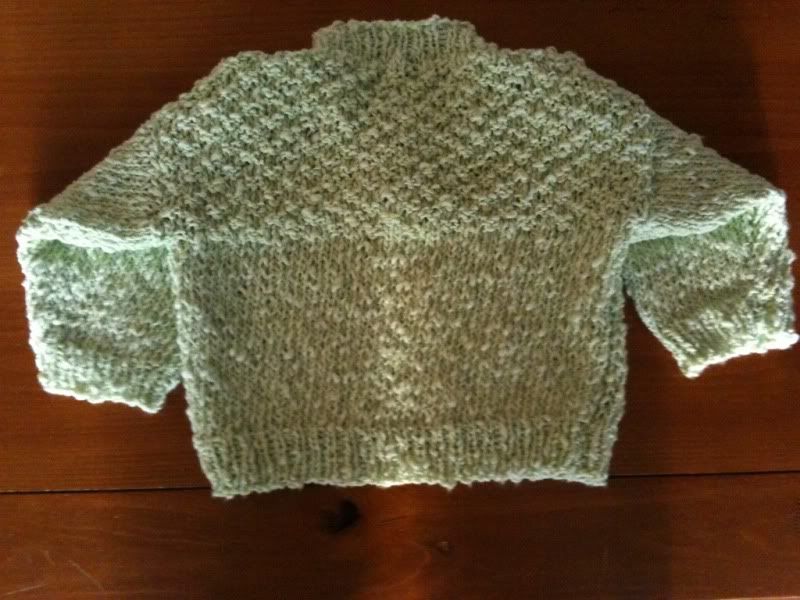
  Ok so here's the deal. I don't have a baby. Will never have a baby. But a friend of mine did have a baby. Thus this very cute baby sweater. It's actually the FIRST sweater I've ever finished! I have an adult size one for me in the works but it's taking forever because I keep putting it down.

  Anyway, I actually had this yarn and pattern laying around from my Sophomore year in college when I was planning on making it for my professor's baby. Well that didn't turn out so it got a second chance with my friend's baby instead! Better in the long run.

  What's great about this project is that the yarn, buttons, and pattern were all included in the $15 price! There was enough yarn to make 3 different sizes (I made the middle one and there was plenty of yarn leftover), and two pattern choices. It's from Plymouth Yarn, the design I made was called Baby Placket Pullover, and that was included was called Cotton Kisses. I tried to find a link to the Plymouth site for the project but it doesn't seem to be available through their official site anymore, hence the link to the Ravelry page. Also included on the other side of the baby placket pullover was this pattern for a very cute Baby Cardigan. Anyway, the pattern was written pretty well, some of the details were a little abbreviated but manageable.

  If I have one gripe it's that I don't think the slubby/nubby yarn was a great choice for this pattern. It didn't really let the details you knit into it stand out as well as they could with just a regular yarn. Either way, it was a pretty fast knit (ran into the 'putting it down' problem since there was two sleeves and front/back) but still got it done before winter which is always a plus haha. But for once I didn't mind having to seam up everything. It was so small that it was fast and easy!


Green Christines!

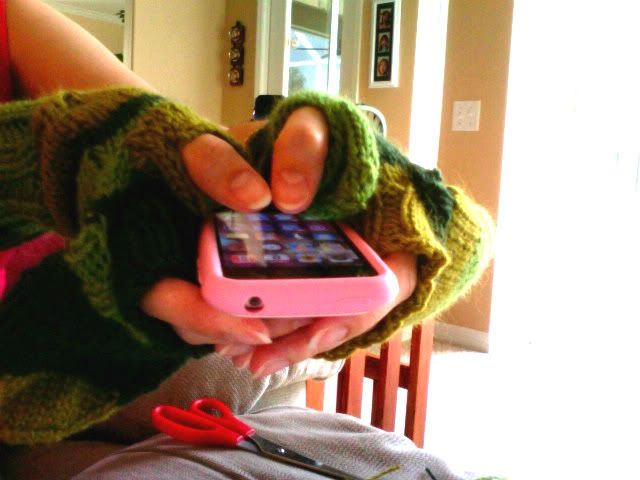
  My friend Christine and I decided to do a little project swap. I asked her to make me this crocheted Katamari ball that I've always wanted but never made because I don't crochet (IT'S AWESOME!!!), and in return she wanted a pair of mittens in green! So I decided on these great Mobile Mittens by Maria Moesby. It is a free pattern through Ravelry and well written. I made them in a couple of days worth of knitting...just not all the days were one right after lol. I tend to make one...wait a long time...then make the second of whatever I'm knitting if it's something like mittens. Anyway, here's how they turned out!


  I love the erratic stripe pattern. I feel like it was fun and fitting for her personality. The yarn I used was called Julia by Nashua Handknits. So soft!

French Press Cozy

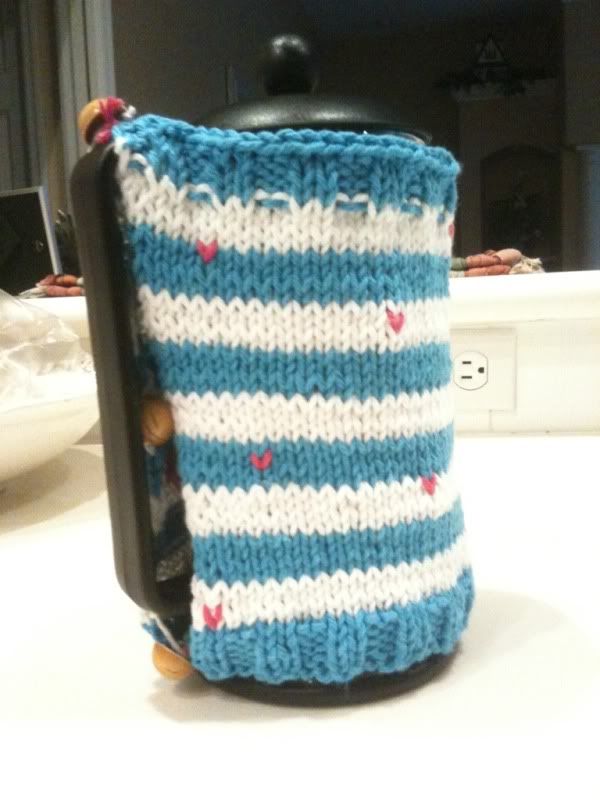
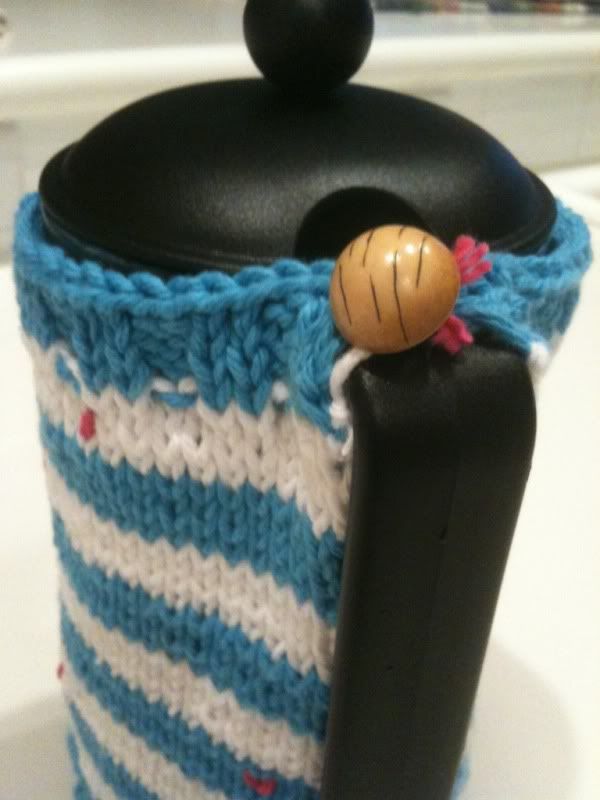
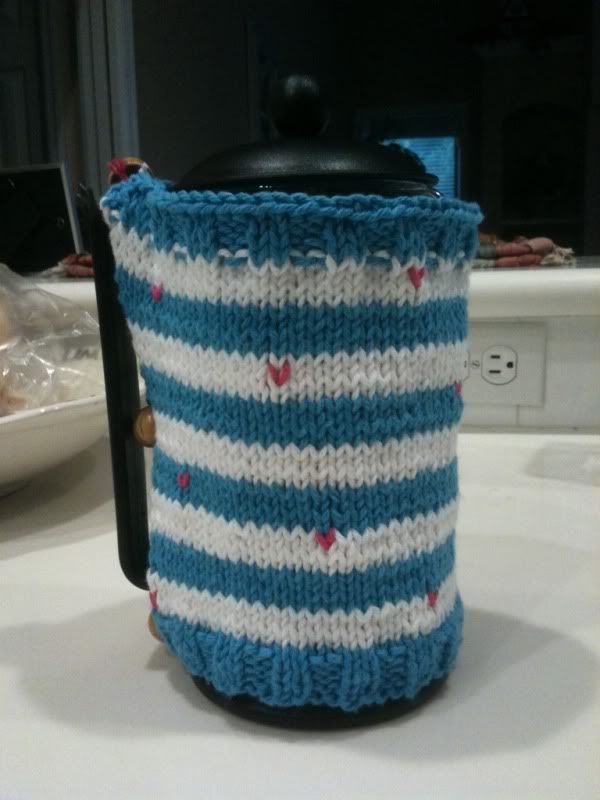
  Based off of this pattern from Design Sponge I created my own version of a French Press Cozy. I had to invest in a French Press at the beginning of the summer and love it! So easy, so yummy. 

  Using left over Lily Sugar'n Cream Solids in white, blue and a little pink, plus some buttons from my collection, I was able to make this very cute cozy.


Ready to protect and serve my coffee!